
The Workspace transforms how you organize and access information. Create unlimited personal notebooks, collect valuable content from your Library, and build a knowledge system that grows with you.
Organize Everything That Matters
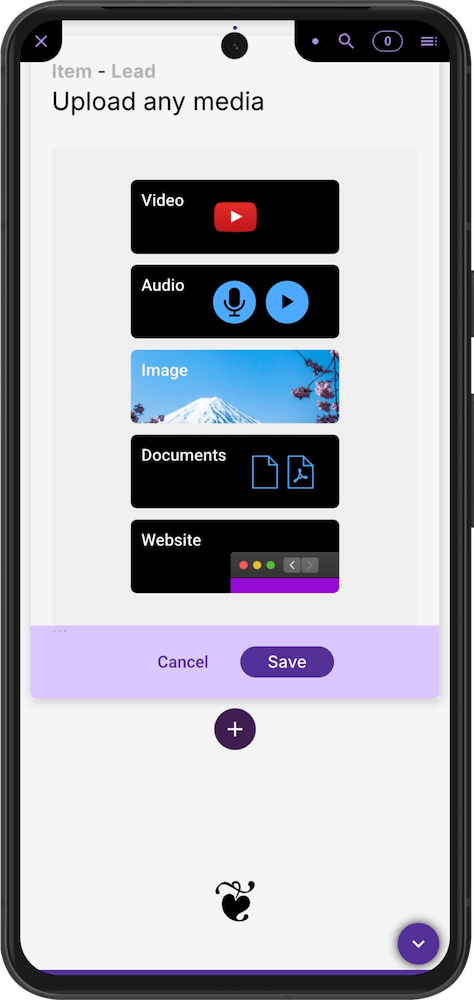
The Workspace gives you complete control over your content. Save articles, videos, images, and quizzes from any book in your Library. Add your own notes, upload documents, and create custom reference materials. Structure everything with chapters and sections that automatically build your table of contents. Your personal knowledge vault stays synchronized across all devices, ensuring your insights are always accessible.
Build Your Second Brain
Unlike traditional note-taking apps where information disappears into folders, the Workspace creates a living knowledge ecosystem. Every piece of content remains searchable and actionable. Share specific insights with colleagues through the Messenger without losing context. Combine professional learning materials with personal reflections to create deeper understanding. The modular bit-based system means you can reorganize, repurpose, and refine your knowledge as your thinking evolves. This isn’t just storage – it’s a dynamic system that helps you make connections, retain information, and apply what you learn long-term.
Beyond Static Storage
Traditional e-books and note apps trap your content in rigid formats. The Workspace breaks these barriers with truly modular content. Each element – text, image, video, quiz – exists as an independent unit you can move, share, and remix freely. While other platforms force you to choose between consuming content or creating notes, the Workspace seamlessly blends both. Import PDFs, save content from books, write original thoughts, and collaborate with others – all in one cohesive environment that respects copyright while maximizing knowledge sharing.